Showing posts with label party ideas. Show all posts

Thursday, April 18, 2013

[Party] Where in the World?


Yesterday was kind of a big deal for our family.  My 18 year old son turned in his application to serve an LDS mission a few weeks ago.  As a missionary he would be assigned to serve for two years.  Missionaries are sent all over the world and speak almost every language imaginable.  We received word from the post office that his assignment had arrived yesterday morning.  We were so excited and anxious to see where he would be going!  He wanted to wait until evening to open his letter so that many of his friends and family could be there with him.  Twelve hours is a long time to wait.  Truth be told, I've been waiting for this day for over eighteen years!!  I could hardly stand it.  We decided to make a party of the whole thing.  It gave me something to keep me busy all day.

So, I set to work.  We went with a map theme.  It seemed like the logical choice since that was the big question of the evening...where in the world would he be going??


You can't have a party without garland, right?  I love me some garland.  I knew that I wanted to make it out of maps.  But where was I going to find enough maps for cheap to finish the job.  Then it came to me...a stoke of genius really.  We had an old road atlas collecting dust on the shelf.  I set to work removing the pages and cutting them into triangles.  It was quick work.  Before I finished watching an episode of Downton Abbey, I had a huge pile of triangles.  Then I punched them and strung them on some yarn and hung them all over our front room.


I hadn't even begun to exhaust my map source.  So, I made little cupcake flags.  I just cut strips and glued them to a toothpick.  My strips were about three inches long and one inch wide.  Fold them around a toothpick and glue in place.  Cut a notch in the end if you want.  We made these cute little jars of yumminess to serve for dessert.  I did a strawberry shortcake version and a chocolate cake version.  They were fast and I could make them ahead of time.  I didn't want to have to be tied to the kitchen, once our guests started arriving.  They were delicious! 


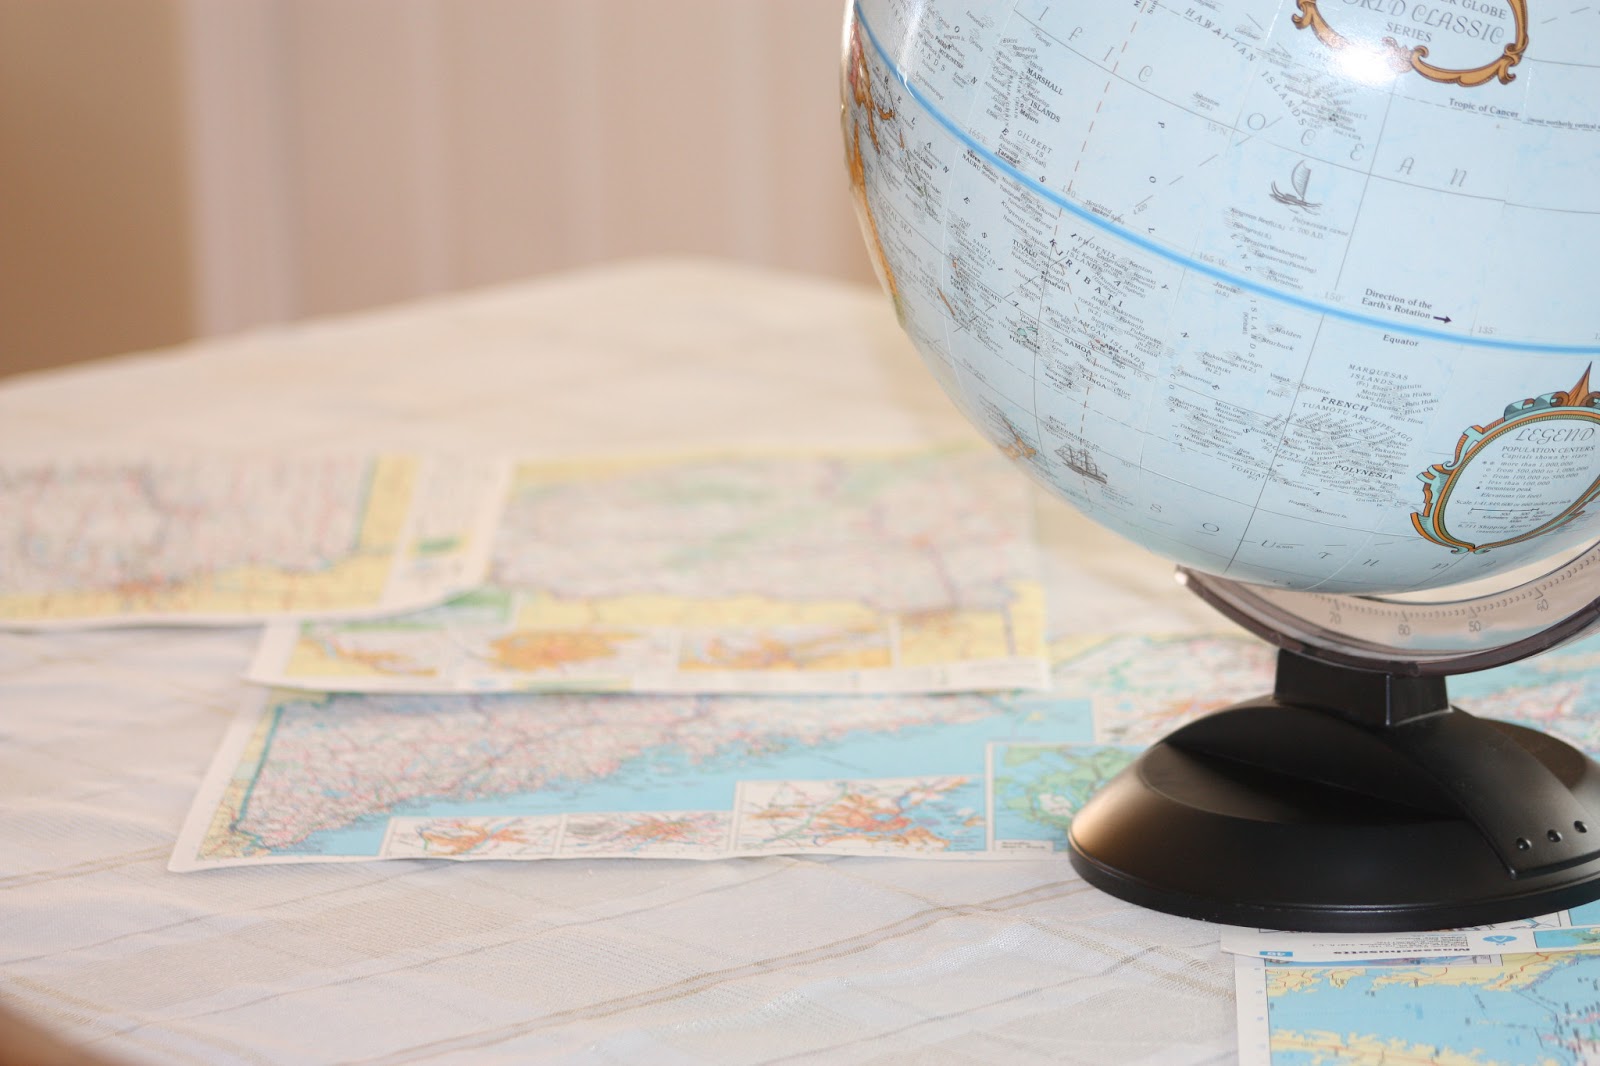
I decided to just use some full pages of the atlas as a table runner and put a globe in the middle for a centerpiece.

Last but not least, we made a guessing jar.


We had each of our guests venture a guess as to where they thought he would be going.  They wrote their name and place on a strip of paper and put it in the jar.  People were guessing Russia, Brazil, Taiwan, China, France, Kansas, Michigan, Africa, Spain, Washington state, Oregon, Paraguay, etc etc.  When it as all said and done, there was only one person who guessed correctly!

It was a super fun evening.  I'm so proud of my boy!  Do you want to know where he will be going?

California!

Have you seen missionaries in your neighborhood?  Be sure to say "Hi"...they are some of the most outstanding young people you will ever meet!

Thursday, March 21, 2013

[Easter] Roll A Bunny Dice Game

 
You knew it was coming, right?  I'm sure you are familiar with the drill by now.  If not you could refer to this
or this or this.  All you need is a die, a pencil, and this lovely free printable.  Enjoy!

I'm linking up with:

Tuesday, January 29, 2013

I Believe in Pink

I believe in pink.  I believe that laughing is the best calorie burner.  I believe in kissing, kissing a lot.  I believe in being strong when everything seems to be going wrong.  I believe that happy girls are the prettiest girls.  I believe that tomorrow is another day and I believe in miracles.
Audrey Hepburn 

Today's post is brought to you by the color pink.  Because it's snowing like no tomorrow outside.  What if snow was pink?  That would be fun.  You know.  Just to mix things up a bit.  Maybe just one pink snow day a year.  Right before Valentine's day. 


This party mix is pink and yummy and guaranteed to make you happy.  Which in turn will make you pretty.  Eat some.  You'll like it.


Start with some pretzels.  Heart shaped would be fun.  I had these awesome square waffle-y ones.  Drizzle them with some milk chocolate.


Now pop a bag of microwave popcorn.  Pour it into a bowl.  


While you are at it.  Pour a bag of white chocolate chips into a bowl too.  Not the same bowl.  A different bowl.  A microwave safe bowl.  Microwave it at 40 percent power for thirty second intervals...until it is all melty and wonderful.  Pour it over the popcorn and stir it well.  Dump it out onto a cookie sheet and let the chocolate set.  You can pop it into the freezer for a minute, if you are in a hurry.


Next up...strawberry wafer cookies!  Delish!  I decided to cut mine up into little squares.  Beware--your children and most likely your husband will try to sneak some of the cookies while you aren't looking.  They're little rascals, aren't they?  


Break your popcorn up into little bunches.  Add dump them into a serving bowl or two.  Add your chocolate pretzels.  Sprinkle your wafer squares on top.  Add some nuts.  I chose cashews.  Then I added strawberry malted milk balls and pink and red M&Ms.   Mix it up a bit. 


Now snuggle up under a warm cozy blanket with your honey and watch Breakfast at Tiffany's  just for fun.  She believes in pink.  And so do I.

Wednesday, September 19, 2012

Halloween Treat Boxes


 When we were in China a few years ago, we saw some super tiny individual Skittle and M&M packets just like this.  They couldn't have been more than an inch high.  They were so cute that I just had to buy some!  I've been wanting to recreate a version of them ever since.  Halloween seemed the perfect occasion.  These would make the cutest party favors or inexpensive gifts!  But who needs a party?  Just tuck one into a lunch sack or a pocket and -POOF--instant celebration.

Supplies that you will need:

printable
paper
scissors or paper cutter
double-sided  tape
small candies

Step One:
Purchase and print out the files from my shop.  Just use plain old run of the mill printer paper.  You do not want to use card stock.  It will be too stiff.

Step Two:
Cut out the squares along the black lines.


Step Three:
You will notice that the faces of the characters are slightly off center.  There is a reason for that.  Place a strip of tape along the front left side of the printed square (as shown below).  Fold the strip over about a half inch or the width of the tape strip.


Step Four:
Turn your character square face down, with the folded edge on the right.  Place a strip of tape from the middle of the bottom edge to the lower right corner.


Peel off the protective paper from this bottom strip and stick down the folded flap.  You will also need to put a small strip of tape centered on the top edge.  Do not remove the protective paper on this strip!  You will need to wait to remove this until the very last step.  Your square should look something like this:


Step Five:
Remove the protective tape from the side of the square (the one that is folded over).  Bring the opposite edge of the paper over (this is the edge that doesn't have any tape on it)  and stick it to the tape strip.  This will in essence form a cylinder.  At the same time, seal the bottom of your container with the tape that is already exposed.  You want a flat sealed edge.  It should look something like this:


Step Six:
Fill your favor box with cute little treats.


 M&Ms, mini Reese's pieces, Skittles, and candy corn work best.  Anything small will do.


Once your boxes are filled you are ready to seal the open end.

Step Seven:
Seal the open end by removing the protective paper and pressing the edges of the paper together.  You want this seal to be perpendicular or opposite in direction to the bottom one.  In other words, the faces of your characters should be centered.  When you look at it head-on, the front surface should be triangular.


Step Eight:
If you have a paper crimper you could crimp the sealed ends of the tube.  I have a paper crimper.  Somewhere.  As you can see, this step is optional.  If you can find your crimper--go ahead and crimp away.  If not--all is well. 
Aren't they so much fun?  I think the mummy is my favorite.  Or maybe Frank.  It's so hard to choose.  To open your cute little Halloween favor, just gently tear off the top!  And enjoy!

Tuesday, September 11, 2012

Birthday Craft Party Extravaganza

The craft party was a huge success!  The girls had a great time sculpting, beading, painting, and drawing.  I pulled out almost all of my various craft supplies and let them go to town.  Crayons, markers, paints, glue, paper, fabric, craft sticks, foam stickers--does it get any better than that?


I made each guest a small container of playdough and pulled out all of the playdough toys.  We shaped and sculpted while we waited for everyone to arrive.  Truth be told, they could have played with the dough for the entire party.  Classics.  They never grow old.


Next up was stringing beads.  I saw these beads on Pinterest and had to try them.  It was a great way to use up all of those old colored pencils from school years gone by.  I won't lie to you though...it was quite a lot of work to make enough beads for ten bracelets.  The tips of my fingers are still numb from sawing, sanding, and drilling.  I was not very good at the drilling.  Hubby to the rescue!  He spent a large part of two evenings drilling.  Luckily he could drill and watch a favorite movie at the same time.  Totally worth it though.  They sure turned out cute, don't you think?


What's a craft party without a little painting?  I had envisioned something like this...

But true crafters tend to get their own ideas.  The girls painted their dragonfly/butterfly bodies.


And then things got a little crazy and very mixed media.  It involved leaves for wings and acorns and lots and lots of paint.  Unfortunately, I neglected to get a picture of their finished products.  But they were fabulous.  We threw in some painted rocks for good measure.  Lots of fun.

For dessert each girl painted their own sugar cookie with edible ink markers.  This was probably my favorite activity.  They turned out so cute.  I wish that I had taken a picture of all of the cookies lined up in a row.  But they just wanted to chomp right into them and I was too slow.  Here's one of the masterpieces:


We also had rainbow jello...


and caramel apple popcorn.  Delicious!


All in all I would say it was a huge success.  Happy birthday little one!

Wednesday, September 5, 2012

Spinning a Birthday Yarn


It's birthday time around here!  I have a brand spanking new, hot off the press six year old.  We are prepping for a birthday party in her honor this weekend.  We are going to spend Saturday afternoon crafting with a bunch of her friends.  Does it get any better than that?  I'm still finalizing the craft plans (so many fun ideas, how do you choose??) but I thought I'd give you a sneak peak at the invitations.  I wanted to do something a little different this year.  I've seen a version of this idea before on Dandee and I love love LOVED it.

I really loved the fact that I didn't have to buy anything new from the store.  All of the supplies could be found  in my craft room.  All you need is some yarn, card stock, printer, and a hole punch.  Perfect.  And what says craft party more than a ball of yarn?

I printed out all of the details on a piece of scrapbook paper.  We are inviting eight guests, so I repeated the phrase eight times down the sheet.  Try to keep the details as concise as possible...you want to limit yourself to one line of text.  I also printed a little "pull me" tab on the same sheet of paper.  I used the back side of the yellow polka dot paper you see above.  The details went something like this:
Come create and celebrate!  Time...date...place.  Bring a smock!
 Cut your paper into strips.  Mine measured about  3/4 of an inch wide and about eight and a half inches long.  Punch a little hole on the left side of your strip and tie the yarn to it.

Starting on the opposite edge of your yarn, roll your paper strip tightly.  Hold it in place and begin wrapping the yarn around and around.  You can make your yarn ball as big or as little as you like.  I used about six yards of yarn to make a ball about the size of a bouncy ball.  When your yarn ball has reached perfection, tie the "pull me" tab to the end of the string.  That's all there is to it!

I decided to package my  little ball of yarny goodness in a small plastic bag and add a topper.  And I just happened to have a bag of skittles nearby, so I threw a few in.  What six year old doesn't like Skittles?  Edible confetti equals tons of fun!


Deliver your cute little bundles to your friends.  And count the minutes until the fun begins!

  Linking up with:

Sunday, May 6, 2012

[Prom Week] Lest We Forget the Boys


I was at the grocery store and found some Breathsavers on clearance for ...50 cents!  Perfect.  I'll take seven.  I wrapped them in brown kraft paper and glued on a little yellow "button".  Finished it off by stamping p-r-o-m in black ink.  Simple and fast.  That's how I roll.

**We had the big party last night.  If the smiles and laughter and really full bellies are any indication, I'd call it a huge success!  I will post more of the details as soon as I sort through the hundreds of photos that were taken.

Thursday, May 3, 2012

[Prom Week] Dinner Napkins


Prom.  Saturday.  Seven tuxedo clad boys.  Seven gorgeous girls.  And dinner by me.  If you missed yesterday's post, click here for all the details.  Today's adventure involves my sewing machine and lots of yummy yellow cotton fabric.

As I mentioned earlier, I had most of the linens that I needed to host this shin-dig in my personal stash.  But, I wanted to add some yellow accents.  So, I chose a fun yellow polka-dot fabric to make some cloth napkins for our formal dinner.  Have you made napkins before?  It took a bit of time to make fourteen of them, but the process is simple enough.

You will need one yard of fabric for four napkins.  It's best to use 100% cotton or linen.  Cut your fabric into 18 inch squares.


I decided to serge the edges for good measure, but you certainly don't have to.


Then I pressed each edge into the center just the width of my over lock stitch...maybe 3/8 of an inch.


Then fold and press each edge into the center again, so all of the rough edges are hidden.  Mitered corners are the bomb.  But I didn't have time for that.  A simple folded corner will do just fine.


Now run a straight stitch around the four sides.  Repeat the above steps for each napkin you've cut.  In my case, fourteen times.  Sheesh.


But, they are so worth it.  I love cloth napkins.  A million times fancier than paper.

Wednesday, May 2, 2012

[Prom Week] Bunting


So, this weekend is our high school prom.  My son asked his date about five or six weeks ago.  We have been making plans ever since.  I can not believe how expensive prom can be.  It's craze-balls.  By the time you buy your dance tickets, rent the tuxedo, buy a corsage, and pay for dinner you are easily in the $200 range.  That's a lot of money for a teenager who hasn't had a job since last summer.  Believe me, those funds were exhausted long ago.  And that's a lot of money for Mom to fork over.  Time to get creative.


Color me crazy, but I volunteered to host seven couples for a formal dinner.  Each young man is donating $25 to the cause (which is quite a bargain if you ask me).  We were able to secure a wonderful location for free.  Some friends are letting us borrow a couple of round tables and enough chairs for everyone.  My niece, who is an amazing pianist, has graciously agreed to play the grand piano for us while they dine.  Her husband is dusting off his tuxedo and has agreed to be the waiter.  I have been working on the menu and the table decor.  I still want them to have the experience of a fancy restaurant without the cost.  So, I am trying to recreate that atmosphere as best I can.  I plan on using my fine china and crystal.  I have a couple of long white table cloths and some natural linen table toppers in my collection (leftover from one of my brother's weddings I think).  I decided to accent them with bits and pieces of yellow.  Doesn't yellow just scream "spring"?  It's such a happy color.

And it has all kind of grown from there.

I thought I'd bring you along on my adventures this week as I get everything ready.

First up.  Decorations.  On the cheap.


I purchased some card stock at Hobby Lobby on sale yesterday and made some paper bunting.  I was able to make six long strands for under seven dollars.  I apologize for the really dark pictures.  I could not get the lighting to work.  I used  craft brown, yellow, champagne, white, and polka dot papers.  I was originally going to cut circles, because I love circle garlands.  There is just something about them that I am drawn to.  But in the end, I chose triangles.  For two reasons.  They are very easy to cut and there is very little waste.  I cut the triangles four inches high and three inches across the base.  Then I punched two holes to string them and ran a piece of white yarn through.  Simple.  I think they turned out really cute.


Last night I had the idea to make some little favor bags for the girls.  I decided to incorporate the bunting into the favor.  I used a fine tip black sharpie to draw a line onto some muslin bags that I already had in my stash.  Then I appliqued some tiny fabric triangles onto the line to make the "bunting".  I may stamp their names along the bottom or maybe just put "prom 2012".  We'll see.  I plan on filling these tiny bags with lemon drops.


Bunting.  So fun.  What do you think?
Related Posts Plugin for WordPress, Blogger...