Showing posts with label bread. Show all posts

Wednesday, February 6, 2013

Pizza Pinwheels


Any way you slice it...these are delicious!  And fast and easy.

I know that pizza pinwheels are all the rage.  You know the ones.  You've seen them on Pinterest.  But these are not those.  These are so so so much more.

Step One:  Make the bread dough.  I LOVE this recipe.  You can make bread--let it rise--and bake it in under 60 minutes!  What??!!  I know.  It's revolutionary.  Try it.  Or just use whatever bread recipe you like the most.

Step Two:  Roll the dough into a rectangular shape--like you would for cinnamon rolls.  My recipe makes enough for two jelly rolls or about 24 pinwheels.

Step Three:  Cover the dough in pepperoni.  And I do mean cover.  This is no time to be frugal.  Pepperoni=flavor baby!  Please excuse the frosty look of my pepperoni--I had just taken it out of the freezer and it hadn't thawed all the way.


Step Four:  Cover the pepperoni in grated mozzarella cheese.  Once again--use a heavy hand.  Cheese=delicious!


Step Five:  Roll your dough jelly roll style.  Seal the seam well.


Step Six:  Slice your rolled logs into pinwheels.  I like to use a bench knife.


Step Seven:  Place your pinwheels on a baking sheet lined with parchment.  Don't do what I did.  I accidentally used my Silpat (which I love--but not for rolls!)  My pinwheels had a hard time browning on the bottom.  Parchment works much better!

Step Eight.  Brush your pinwheels with melted butter and sprinkle with some grated asiago cheese.


Step Nine:  Let your pinwheels raise the appropriate amount of time for your recipe.  Mine raised about 25 minutes.

Step Ten:  Bake at 350 degrees for 25 minutes, or until golden brown.
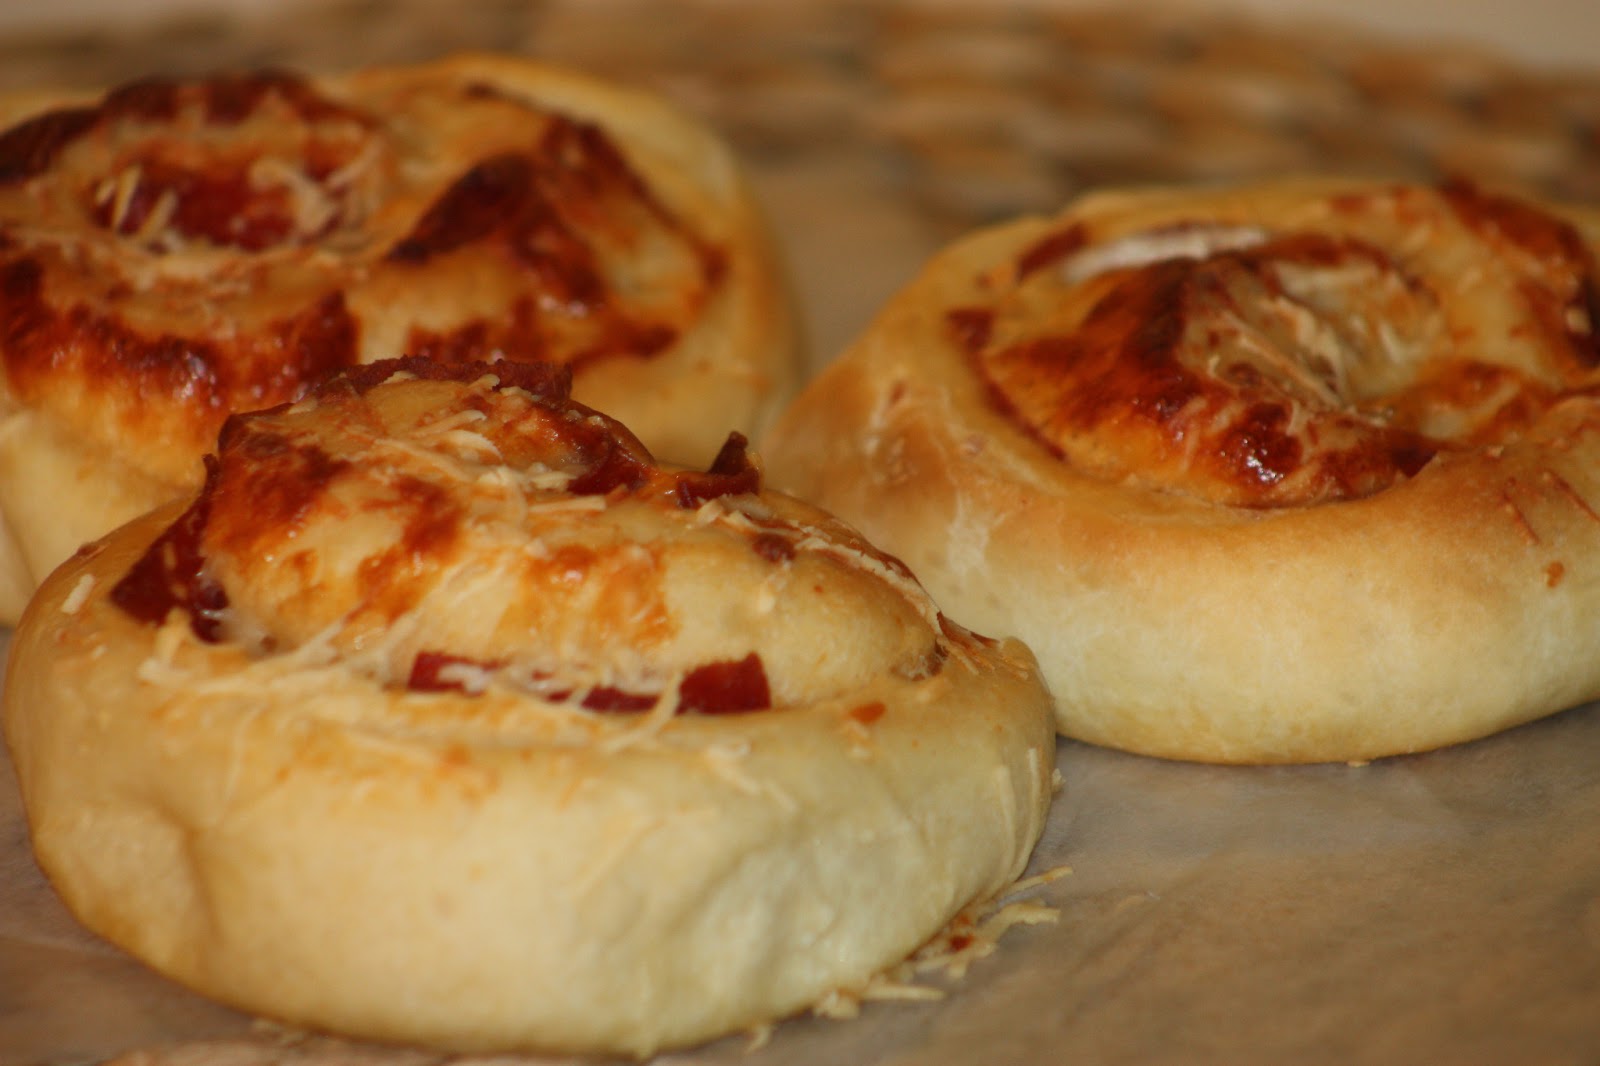

YUM YUM YUM

These are really wonderful hot out of the oven.  You can dip them in marinara sauce or ranch dressing.  They make a great dinner combined with a green salad.  My kids like to take them to school in their sack lunches. They just eat them cold.  But they are also awesome warmed up for a few seconds in the microwave.

Tuesday, November 13, 2012

[The Gratitude Project] Daily Bread


I am so thankful for a bounteous table.  We have always been blessed to have enough nutritious food to feed our family.  And there's always some to share.


Today I made this crock-pot oatmeal for breakfast.  This is a yummy recipe. I added applesauce to mine instead of chunky apples.  And my family is not big into nuts, so I left those out.   Anyway, the recipe made waaayy more than we were able to eat.  So I decided to make some oatmeal bread out of the left-overs.  I doubled the recipe below and it yielded four large loaves of bread.  Plenty to enjoy and a couple of loaves to share.  Perfect.  For a softer crust, brush your warm loaves with melted butter.  Or brush with warmed honey and sprinkle with a few oat flakes.


This bread would be delicious with raspberry butter!  Or toast it up for breakfast and spread with your favorite jam.

Wednesday, January 18, 2012

Raspberry Butter

I think it's about time for a recipe around here, don't you?


 Last year, my honey and I went to a restaurant for our anniversary where they served the most delicious hot rolls and raspberry butter.  I've been thinking about that butter lately and decided to whip some up.  It's not hard to do.  You will need softened butter though, so take a couple of sticks out of the fridge and bring it to room temperature.  While you are waiting for it to soften, make your favorite bread recipe.  You are going to want to slather this butter onto something hot and delicious from the oven.  Got that all taken care of?  Good.  Let's do this.


 All you need is your softened butter, some powdered sugar, marshmallow cream, and raspberries.  I used frozen raspberries this time, as it is the middle of the winter.  Fresh would have been dreamy--frozen will work just fine.  Smash up your raspberries and drain off the juice.  Set the draining berries aside.  Discard the juice or use it in something else.  Whip your butter until it's light and fluffy.  Add the powdered sugar and cream them well.  Add the marshmallow cream.  Last, but not least, add your raspberries.  Mix to incorporate.

Scoop or pipe the raspberry butter into individual serving sizes if desired and refrigerate until ready to use.  I also piped some into 4 oz canning jars to give away with a hot loaf of bread.  You could store the whole batch in a tupperware container and keep it in the fridge to use as needed.


I love the beautiful pink color of this butter.  And it is deeelicious!
This butter would make a beautiful accompaniment to your Valentine waffles or pancakes!

Tuesday, November 15, 2011

Pumpkin Bread


Do you have a favorite recipe book?

I love a good cookbook.  I've said it before and I will say it again.  One of my most favorite things is to curl up on the couch with a good cookbook.  I love everything about them.  I have more cookbooks than I should, but I could never have enough.   

The first Christmas after I was married (a million years ago), I asked my honey for a cookbook.  To this day, it is probably my favorite and most used.  It long ago lost its cover.  I couldn't bear parting with it, so I took it apart and put each page in a page protector and then put them all in a giant binder.  Now my binder is starting to fall apart.  I have written notes and marked the recipes that I love the most over the years. 

This recipe originated from that book.  I have altered it slightly to accomodate the fresh pumpkin puree. 

Pumpkin bread--it's so delicious.  It just screams fall.  I really like the texture and flavor that the whole wheat flour gives to this recipe.  Give it a try.  Let me know how it goes.

 (adapted from a recipe in The Complete Book of Baking by Pillsbury)

Monday, November 14, 2011

Pumpkin Business


We carved our Halloween jack-o-lanterns quite late this year--like on Halloween day!  I know.  Life was just moving a little bit fast around here and that was the soonest we could get to it.  Anyway, I sent the kids out to the porch to get their pumpkins and they got busy creating all kinds of adorable.  Later that afternoon, as we were setting the finished lanterns out to shine, I noticed one lone pumpkin that they neglected to bring in.  Poor sad pumpkin.

It has been sitting on my counter ever since.  I look at it everyday and wonder what I am going to do with it.  Well today was the day.  I had a date with a pumpkin.  I decided that I would try making my own puree.  This is not a pie pumpkin--it's just your run of the mill carving pumpkin.  But, I figured that I didn't have much to lose.  And I didn't want this little guy to go to waste.

I have tasted pumpkin pies in the past made with real pumpkin and I have NOT liked them.  I am a big fan of Libby's.  But, nothing ventured, nothing gained.

Let's do this.

I cut the top off of my pumpkin and sliced it down the middle.  Then I proceeded to slice it into manageable wedges.  Next I scraped off all of the seeds and stringy parts.  I cut my wedges in half and put them in a big stock pot.  Then I added a couple of inches of water and let them simmer until they were fork-tender.  I drained off the liquid and let them cool.


Once the wedges were cooled  completely,  I removed the skins with a paring knife.  Then I put the pulp into a blender and blended away.  I really went to town on this part.  The fresh pumpkin pies that I have tried in the past have been lumpy and stringy.  I think that is what turned me off.  So, I probably went overboard on the blending.  But, much to my surprise...it turned out beautifully!


I would say that this pumpkin was just a medium sized little guy.  Not small, but definitely not big.  He yielded about twelve cups of puree.  Not too bad.  Much cheaper than buying Libby's.  (worth it if it tastes good).  I have read that puree made from carving pumpkins contains much more water than pie pumpkins.  So, I dumped my puree into a fine mesh sieve and let it drain for quite a while.  I probably got close to four cups of water off of it by the time I was done.

I think the whole process actually worked.  And it really wasn't that labor intensive.  The hardest part was definitely cutting it down to a workable size.  Those pumpkins are pretty tough dudes!

I guess the proof is in the pudding...or pie...or bread.


(The coloring on this picture is a little off. The bread is actually a bit oranger than it shows--delicious!)

Tune in tomorrow for the recipe!
Related Posts Plugin for WordPress, Blogger...