

So, let's get started. Preheat your oven to 350 degrees.
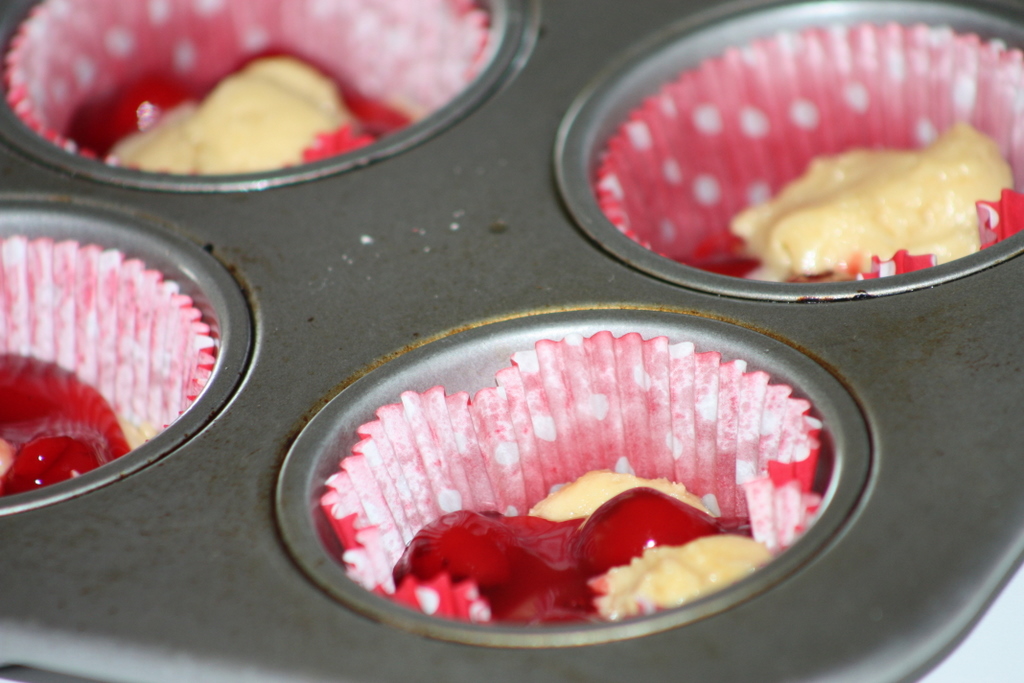
Put the sugar and the butter in your mixing bowl. Cream well. Add the eggs one at a time and beat well after each addition. Add the vanilla. Mix. Add the remaining dry ingredients and blend to incorporate. This is the yummiest dough EVER. I dare you not to eat a little. (I obviously don't subscribe to that whole raw egg thing) Line a muffin pan with muffin papers. Lightly spritz your muffin papers with PAM. (This will enable you to remove the papers more easily when it comes time to eat them!) Drop a scant tablespoon of dough into each muffin cup. Flatten slightly with your fingers or a small greased cup.
Open a can of your favorite cherry pie filling. Add 1 teaspoon of almond extract to the filling in the can. Stir. Spoon 1-2 cherries (and the accompanying glaze) into each muffin cup. Top with another 1-2 teaspoons of dough.
Bake for 20-25 minutes until golden brown and cooked through.
While your cherry cups are baking, you will want to whip up a powdered sugar glaze. In a small bowl, mix the melted butter, vanilla, milk, and powdered sugar until it is smooth and free of lumps.
When your cherry cups are baked to perfection, remove the pan from the oven and carefully remove each cup from the pan. I like to use a fork to gently lift them out. Drizzle with the glaze while they are still warm. Let them cool. Try not to eat the whole lot of them!
*****
The original recipe that I received from my Mom called for making the dough into cherry bars. Which is a great option. It's fast and easy and you can cut them into squares after they are baked and iced. The cherry cups are a little more portable and not as fragile. You may want to eat the bars with a fork. If you want to make this recipe into bars, just follow the instructions below:
Spread 3/4 of the dough onto a greased half-size cookie sheet or bun pan (the kind with sides). If you don't have any of these, you need to go buy one or five or ten! You can never have too many. I like to slide my hand into a small sandwich baggie that I have sprayed with PAM. Use your "baggie hand" to push the dough evenly onto the cookie sheet and into the corners. Once your dough is spread evenly, top it with the cherry pie filling. Drop the remaining batter "hit and miss" over the pie filling, one teaspoon at a time. This will give the bars a beautiful cobblestone appearance. Bake for 25-35 minutes. (Make sure the dough is cooked in the middle of the pan. The edges will be browned.) Remove from the oven and drizzle with the glaze. Let cool. Cut into squares.
oh no the recipe is gone! im not sure whats happening but at the bottom the recipe card is not there on my screen. i make these a lot thanks to your amazing recipe my husband and kids love these they are a big hot here in our house. ive never written down the recipe i always just come here and make it from the screen. you've gotta help me and fix this my husband requested these for his bday tomorrow!
ReplyDeleteWell I’m back 4 years later. Can you please fix this. Pretty please. It’s linked to my Pinterest as my fav recipe and now other people are messaging me that they want this recipe also I’m like 4 years late on my husband birthday treat. Lol. I think he’s getting impatient.
ReplyDelete