Showing posts with label craft. Show all posts
Tuesday, May 20, 2014
Introducing...Sister Minionaries!!
We couldn't have "Elder" minionaries without their sister counterparts, now could we? The injustice of it all. Sister Missionaries are wonderful and amazing. I was actually one of them many many moons ago. I apologize for neglecting my fellow sisters in the work. But the wrongs have now been righted and it is time to get busy making some minionaries for all of your favorite sisters serving around the world. I will admit that these are a little harder to make (mostly because you can't just draw spiky hair and be done). And they take a little more colored ink (because ladies need color!). But the process is still the same. Thanks to my wonderful readers, I was able to find the Great Value version of a twinkie. And hallelujah there are no words printed on the cellophane wrappers. I can't vouch for the taste however. I have yet to eat one. I found them at my local WalMart. But they were not in the Hostess aisle. I found them in the bakery department. Go figure.
Here's the drill just in case you haven't heard...
1. Buy some "twinkies" or cloud cakes or the Great Value equivalent.
2. Open the box.
3. Print out this handy Sister Minionary Printable. Cut along the lines.
4. Tape the minion "clothes" around each Twinkie. I like to use sticky dots
5. Punch an "eyeball" or two out of a white address label or something similar. I used a circular craft punch. Remove the backing and stick it to the Twinkie.
6. Use a black sharpie to outline the eyeball and make the goggles.
7. Use your black sharpie to add a mouth and hair, etc.
8. Mail these goodies off to the ones you love and miss!
**If you missed this male version of minionaries, click here.
Friday, November 22, 2013
Bundle-Up Buttercup!
Today I am thankful for warmth!
It's freezing outside. I am so grateful for a warm home to live in. For hot food right out of the oven. And for warm blankets to snuggle up in.
I came up with this little gem...to encourage warm hearts and warm hands.
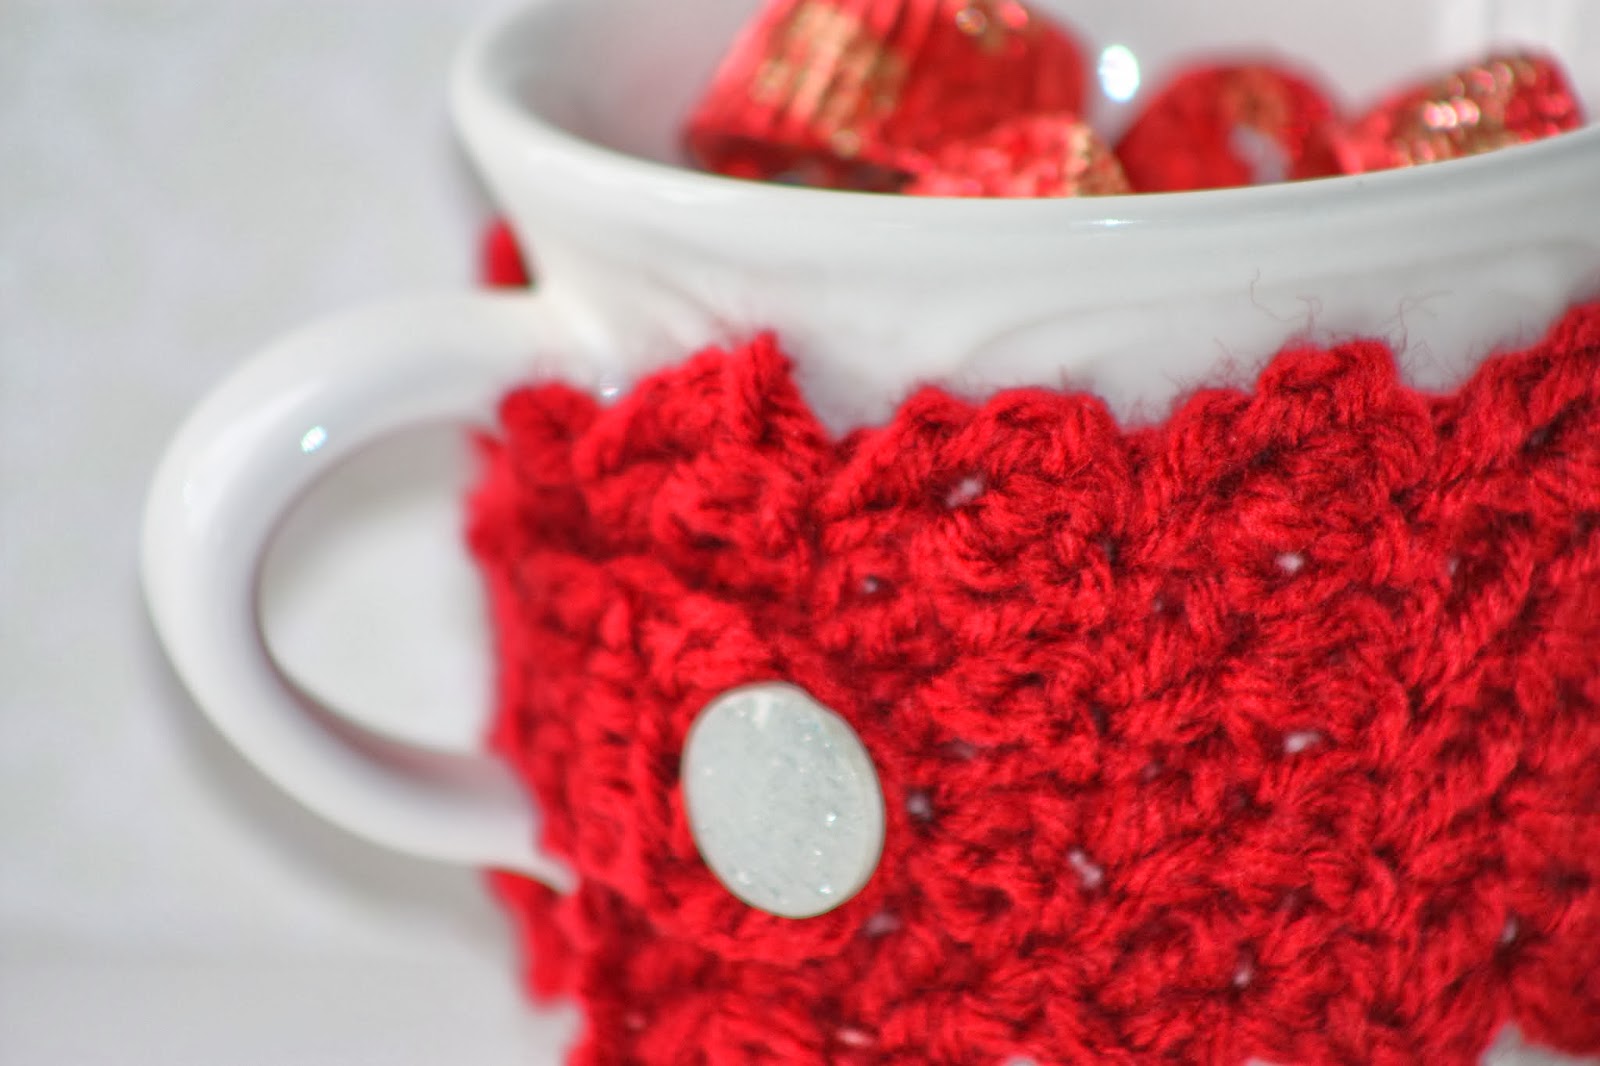
I picked up a mug for pennies at the good will. For fun, I added a mug cozy. I'm not super skilled or proficient at crocheting, but in no time at all, I had finished this cutie. I modified this pattern just a little. I liked the look of the scalloped edges, so I didn't edge the cozy with a single crochet stitch. Give it a try...if I can do it, you can too! And it was so fun, that I made quite a few. Just sew on a random button from your stash and wrap it snugly around your mug.
Fill your mug with some (peanut) buttercups! Add this cute little tag and you're all set for warming up somebody's day.
It's freezing outside. I am so grateful for a warm home to live in. For hot food right out of the oven. And for warm blankets to snuggle up in.
I came up with this little gem...to encourage warm hearts and warm hands.
I picked up a mug for pennies at the good will. For fun, I added a mug cozy. I'm not super skilled or proficient at crocheting, but in no time at all, I had finished this cutie. I modified this pattern just a little. I liked the look of the scalloped edges, so I didn't edge the cozy with a single crochet stitch. Give it a try...if I can do it, you can too! And it was so fun, that I made quite a few. Just sew on a random button from your stash and wrap it snugly around your mug.
Fill your mug with some (peanut) buttercups! Add this cute little tag and you're all set for warming up somebody's day.
*****
I'm linking up with:
Saturday, October 26, 2013
Mummy Pops
Whew. That was a long break. Far too long.
Let's bring this blog back from the dead...with Mummy Pops!
You'll want to dig way back in the archives for instructions on how to make these delicious twix pops. Dip them in the milk chocolate and definitely stripe them with white chocolate. You want the white chocolate to look like mummy bandages. I tapped the pop a bit while the chocolate was still warm to smooth out the lines a little. Let the chocolate harden. Then take some black circle sprinkles and "glue" them on or between the "bandages". Use a small amount of warm white chocolate as your "glue". I just dipped a toothpick into the chocolate and dabbed it where I wanted the eyes to be. Then carefully place the eyes over the dabs and apply a little pressure with the other end of the toothpick to make sure they are really attached well. I used a Halloween sprinkle mix. It had green and purple and black circular sprinkles. I think they ended up to be the perfect size for my little mummies!
Let your mummy pops set up really well before you package them. I put them in a small plastic bag and twisted the plastic around the lollipop stick. Then I secured the end with some clear tape.
To "dress" your mummy you will need some gauze. I found a new roll of gauze in my first aid kit. You want it to be about an inch wide. Cut it into 6" strips and wrap each one around the stick. I liked leaving a little "collar" at the top and some fringe at the end. Secure it in place with glue.
And that's it! You're done. Aren't these the cutest little mummies you've ever seen?
No go...relax and unwind!
*****
I'm linking up with:
Thursday, April 18, 2013
[Party] Where in the World?
Yesterday was kind of a big deal for our family. My 18 year old son turned in his application to serve an LDS mission a few weeks ago. As a missionary he would be assigned to serve for two years. Missionaries are sent all over the world and speak almost every language imaginable. We received word from the post office that his assignment had arrived yesterday morning. We were so excited and anxious to see where he would be going! He wanted to wait until evening to open his letter so that many of his friends and family could be there with him. Twelve hours is a long time to wait. Truth be told, I've been waiting for this day for over eighteen years!! I could hardly stand it. We decided to make a party of the whole thing. It gave me something to keep me busy all day.
So, I set to work. We went with a map theme. It seemed like the logical choice since that was the big question of the evening...where in the world would he be going??
You can't have a party without garland, right? I love me some garland. I knew that I wanted to make it out of maps. But where was I going to find enough maps for cheap to finish the job. Then it came to me...a stoke of genius really. We had an old road atlas collecting dust on the shelf. I set to work removing the pages and cutting them into triangles. It was quick work. Before I finished watching an episode of Downton Abbey, I had a huge pile of triangles. Then I punched them and strung them on some yarn and hung them all over our front room.
I hadn't even begun to exhaust my map source. So, I made little cupcake flags. I just cut strips and glued them to a toothpick. My strips were about three inches long and one inch wide. Fold them around a toothpick and glue in place. Cut a notch in the end if you want. We made these cute little jars of yumminess to serve for dessert. I did a strawberry shortcake version and a chocolate cake version. They were fast and I could make them ahead of time. I didn't want to have to be tied to the kitchen, once our guests started arriving. They were delicious!
I decided to just use some full pages of the atlas as a table runner and put a globe in the middle for a centerpiece.
Last but not least, we made a guessing jar.
We had each of our guests venture a guess as to where they thought he would be going. They wrote their name and place on a strip of paper and put it in the jar. People were guessing Russia, Brazil, Taiwan, China, France, Kansas, Michigan, Africa, Spain, Washington state, Oregon, Paraguay, etc etc. When it as all said and done, there was only one person who guessed correctly!
It was a super fun evening. I'm so proud of my boy! Do you want to know where he will be going?
California!
Have you seen missionaries in your neighborhood? Be sure to say "Hi"...they are some of the most outstanding young people you will ever meet!
Labels:
craft,
decor,
desserts,
family time,
party ideas,
service
Wednesday, March 27, 2013
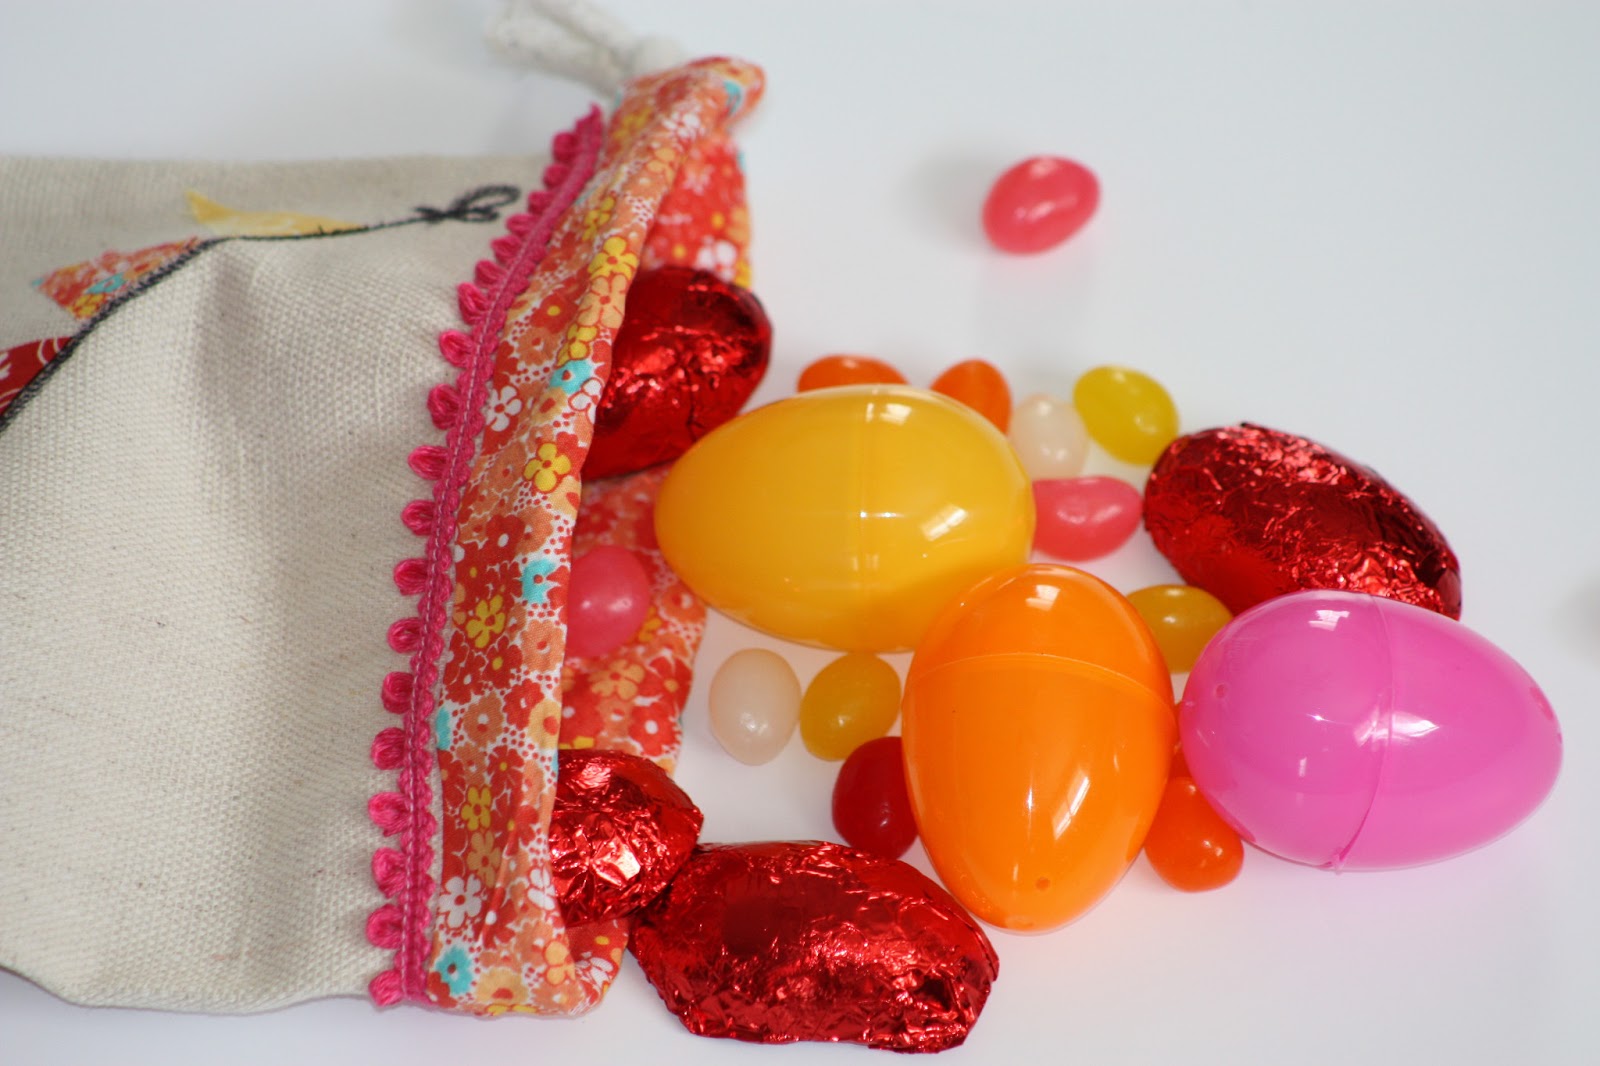
[Easter] Bunny Goodie Bag
I had some time.
I had some scraps.
I made a bag.
I stuffed it full of candy.
Tuesday, March 26, 2013
[Easter] Spring Bouquet
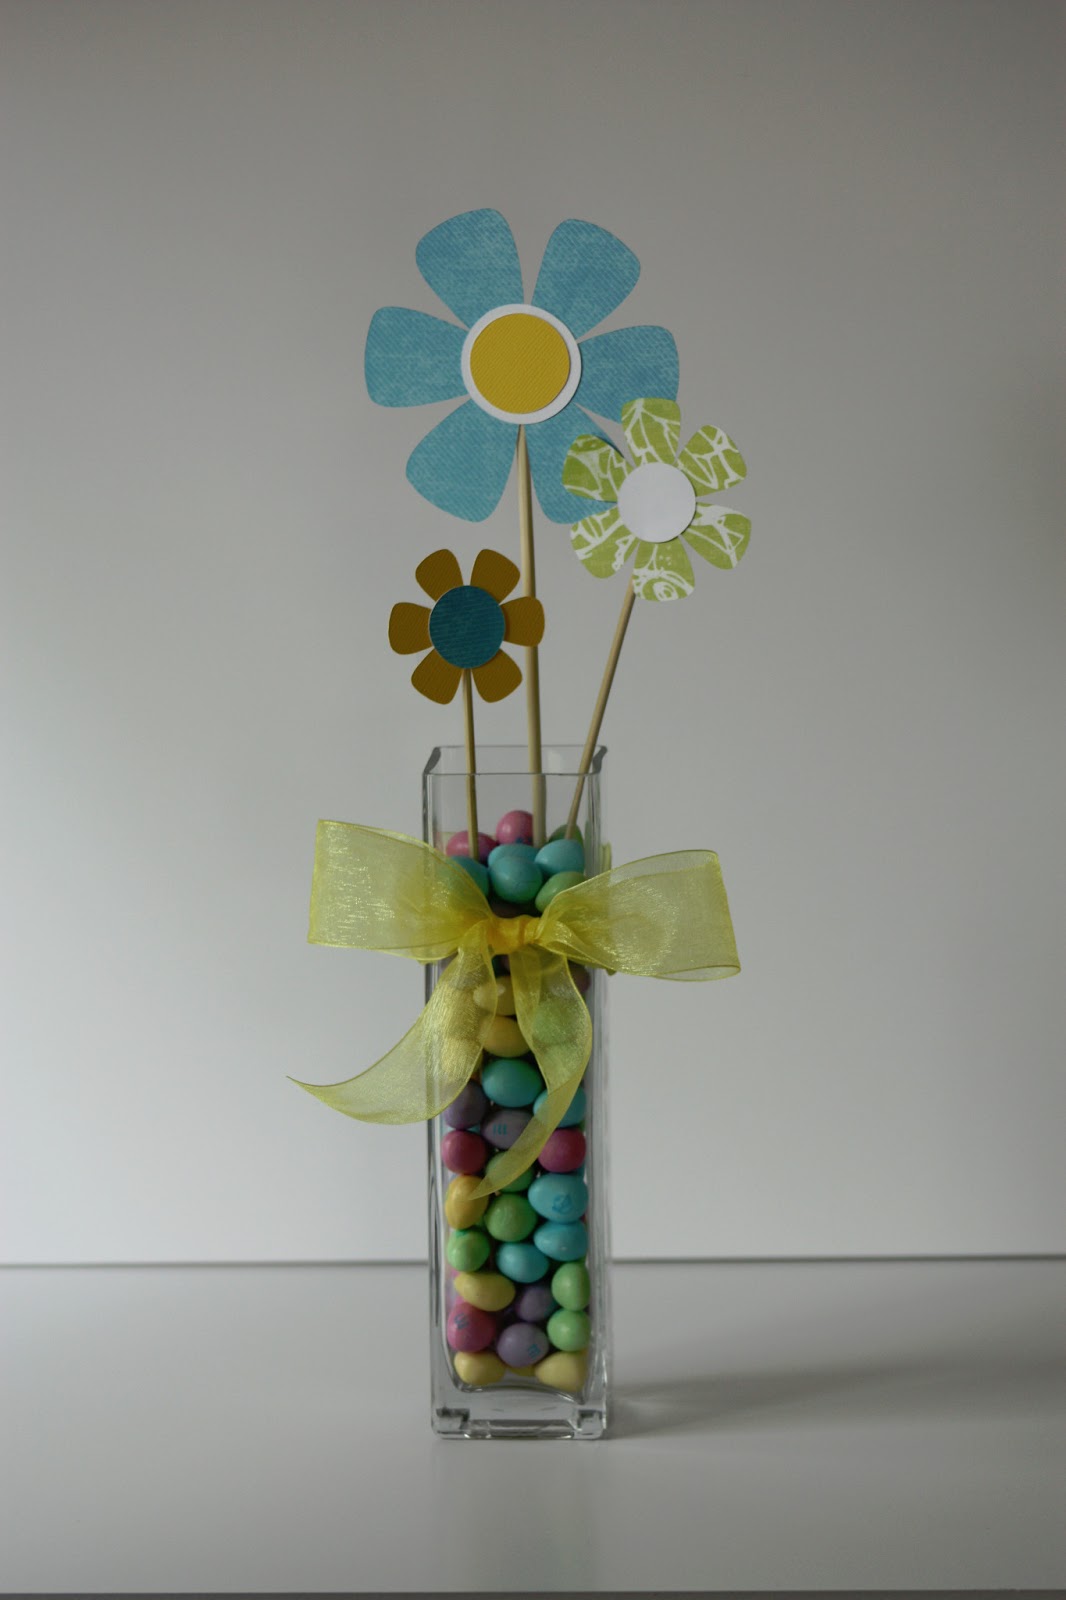
I just had to share this with you. Is this not the cutest thing you have ever seen? My friend Kelley gave this to me last week and I absolutely love it. Love.
I'm sure you could figure this out on your own just from the picture. But, I'll run through it anyway. Why not? She basically took a rectangular bud vase and filled it with peanut m&m's. I'm sure any small pastel candy would work. Pick a favorite. Then she attached three paper flowers--that I am sure she crafted all on her own. Because that's the kind of awesome that is Kelley. And paper flowers are kind of her signature. She does amazing things with paper flowers. Anyway, attach the paper flowers to some long wooden skewers. Stick the flowers into the vase and arrange them all pretty-like. Then tie an organza bow around the vase!
And there you have it! These would make super cute centerpieces for your Easter table. Or how about a teacher appreciation gift? Or just because. Give one to a friend. It will make them happy.
Tuesday, March 19, 2013
[Easter] Bunny Lollipop Favors
Easter always reminds me of my Aunt Betty. Maybe I've mentioned it before? Every year just before Easter she would host an Easter Egg Hunt for all of the aunts, uncles, and cousins on my mother's side of the family. This was no small task. There are a lot of us! Especially when all of the cousins started having kids of their own. She would make a huge lunch and we would gather in her back yard down by Grandpa's old farm. There would be crafts, and games, and a cake walk. And then we would gather eggs from all over the yard. I miss Aunt Betty. A lot.
This craft/party favor reminds me of her. It would have been a perfect addition to her egg hunt. These would also work well for a classroom party. All you need is a printer, some ink, some paper, a pair of scissors, and your favorite lollipop. Print out the bunny masks here. You will want to use some card stock. Then cut them out and punch a hole in between the two front teeth. If your hole is too big the bunny mask will spin upside down. So start small. Just enough of a hole to get the stick through. Thread the lollipop stick through the hole and you are good to go!
If you would like to print a black and white version of the bunny mask...click here. Have the children color their masks before they cut them out. Then follow the directions above.
If you really want to look like Peter Cottontail, add a pair of bunny ears. I saw some at the dollar store just yesterday! Come to think of it...I should have picked up a pair or two.
Happy Hunting!
Tuesday, February 12, 2013
[Valentine] Round Chunky Post Card
Two days until Valentine's Day?!! Where did the time go? I might slam you a little bit in the next day or two with a bunch of posts. I still have so many valentine ideas that I want to get out to you.
First of all. Remember these beauties from last year? Chunky Love Post Cards.
Well, they were such a hit with the grandparents that I thought we'd do it again. This year I wanted to try a circular version. They are just a little bit trickier to cut out. But we enjoy a bit of a challenge, right?
You will need foam board, photos (I made these a bit bigger, so you will want 5x7 photos), spray adhesive, an exacto knife, a cutting mat, and this printable.
Follow the general directions here. I found it easiest to cut a rough square around the circular printable. Then I cut a square piece of foam board about the same size and shape. Spray the adhesive onto the foam board and attach the printable. Then make your precision cut around the circular border. This gives a more professional looking product. Once you have your foam board/post card cut out, trace around it onto your photo. Carefully cut out your photo. Once again spray the adhesive onto the blank side of the foam board. Attach your photo. Trim any overhang if necessary with your exacto knife.
Now all you have left to do is personalize your post card. Write a little note, tell your special someone how much you love them, or have your child draw a simple picture. I guarantee the recipients of these post cards will love them.
Just a reminder--you will want to have the post master weigh and hand stamp these cards. Just in case. I'd hate for them to get lost in the mail. I've had various rates applied to my post cards depending on the post master that is helping me. Some will just put a stamp on it. Others charge a bit more. Who knows? It's still very affordable and super adorable!
Monday, January 14, 2013
[Valentine] Share the Love Candy Wreath
This is procrastination done right. That's what this is. I totally intended to make a candy wreath for Christmas. I had a bucket of candy waiting in the pantry for me to have a few spare minutes. But, I got over-run by all of the Christmas madness. The good news? Most of my candy was red and/or white. It totally works for Valentine's day. Three cheers for procrastination!!
I love this wreath. It's heart shaped. It's red. It's delicious. It's totally easy to make and is guaranteed to bring a smile to everyone you share it with.
Do you need a valentine for Great Grandma who is in the care center? This is the perfect wreath to hang on her door. Visitors can enjoy a little piece of candy while they chat. Just pluck a piece right off.
Maybe you need a valentine gift for your favorite Kindergarten teacher. Again, this is the perfect solution. She can hang it on her classroom door and when she feels the time is right she can share a piece of candy with the children or her co-workers.
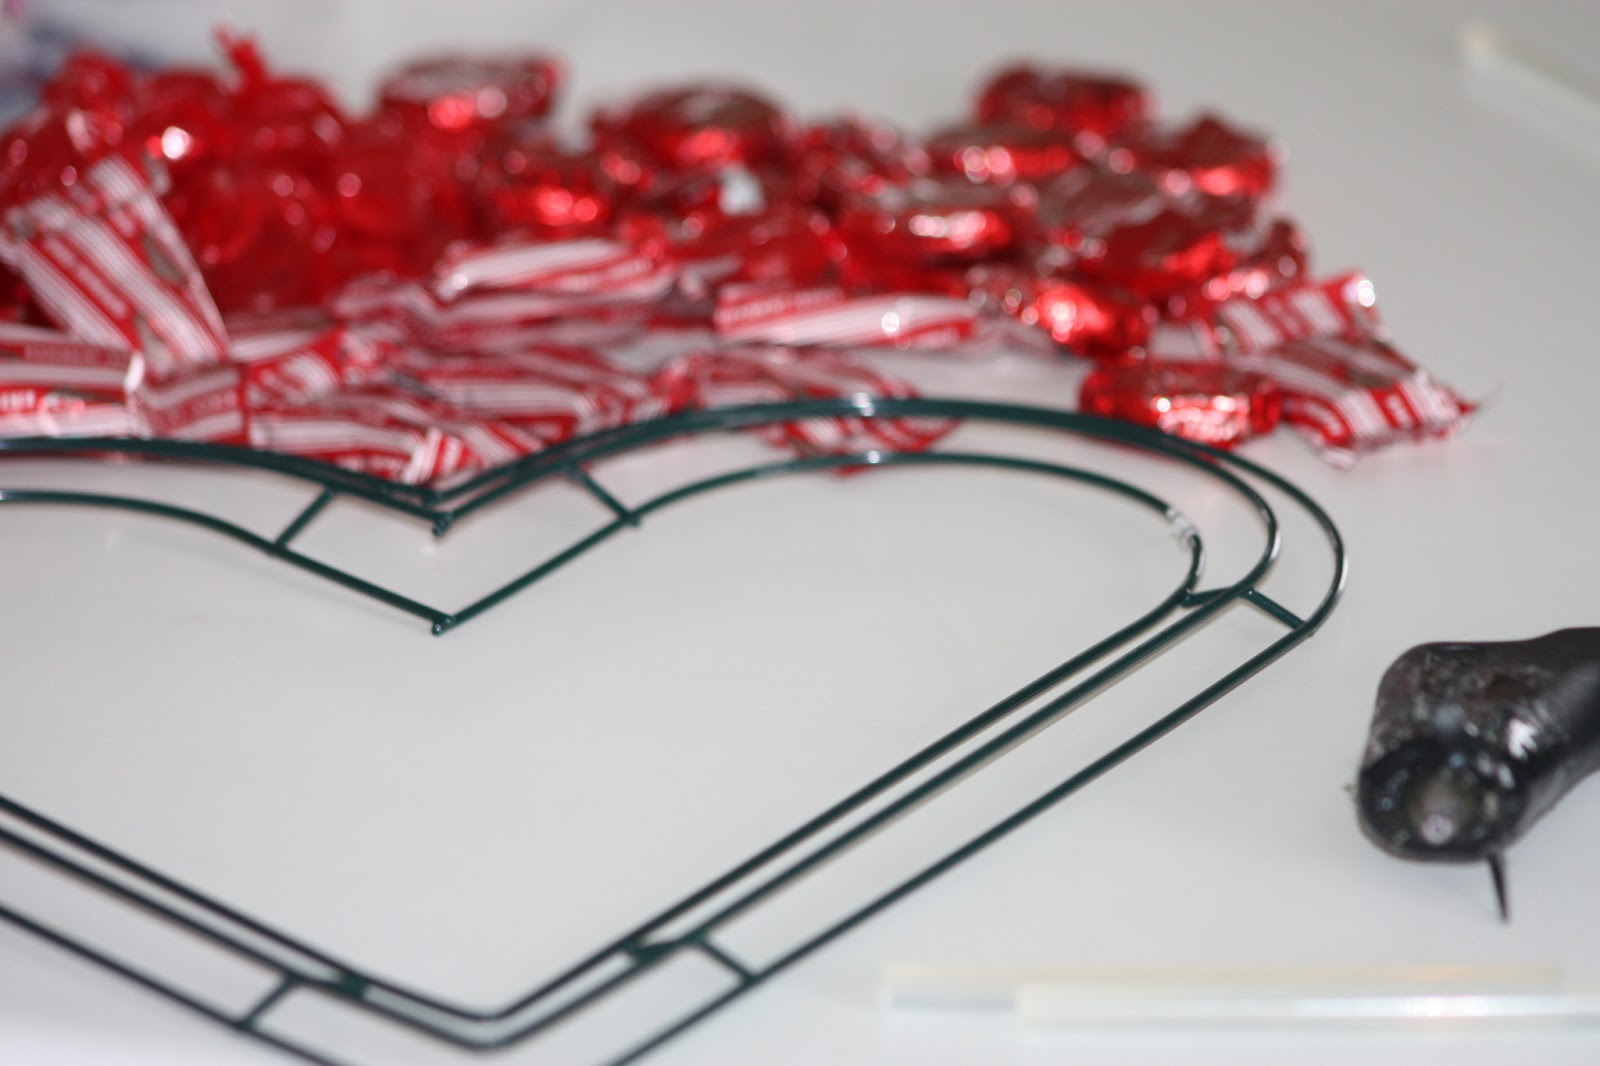
So, let's get busy. You will need a heart shaped wreath form. Styrofoam will work. I happened to have a metal form. It worked fine too. You will also need some candy. And a glue gun. That's it.
Set out your candy and decide how you would like to arrange it. Then carefully glue each piece onto the form. Just keep gluing and layering.
In just a few minutes you will have a beautiful lush candy wreath!
Wrap it up with a bow and hang it in a place of distinction.
There you go. Now go share the love!
I'm linking up with:
Wednesday, January 9, 2013
Birthday Party in a Can
Today is Grandpa's birthday. Happy Birthday Grandpa!!
Now--Grandpa if you are reading this, you need to divert your eyes. Close your browser right now and don't come back until you get a package from us in the mail. Sadly, I was about a day too slow in putting this little package together, so it is not going to get to you on your birthday. But we love you. And we miss you. We'll call you in a bit and sing to you. Now off with you. Go on.
Grandpa lives far away. Grandpa is turning 70 today. It's a big deal.
We decided to put together a little birthday party for him. We made some confetti balloons and some toothpick poppers. We gathered a few noisemakers. We made a birthday banner. We even made a mini birthday cake of sorts--complete with candles. And we found a cute little gift that is perfect for Grandpa. Grandpa is a handyman. He spends his days fixing things. We happened upon a key chain tape measure. Get this--it measures exactly 70 inches! How perfect is that? We wrote him a 70 inch birthday note on the back of the tape measure with an extra fine sharpie. It turned out really cool.
To top it all off, we carefully tucked everything into a quart sized paint can from Home Depot. And we mailed it off. Is there anything better than getting fun mail from the postal carrier?
Happy birthday Grandpa! We hope that you have a super fantastic 25,568th day of life!
Now--Grandpa if you are reading this, you need to divert your eyes. Close your browser right now and don't come back until you get a package from us in the mail. Sadly, I was about a day too slow in putting this little package together, so it is not going to get to you on your birthday. But we love you. And we miss you. We'll call you in a bit and sing to you. Now off with you. Go on.
Grandpa lives far away. Grandpa is turning 70 today. It's a big deal.
We decided to put together a little birthday party for him. We made some confetti balloons and some toothpick poppers. We gathered a few noisemakers. We made a birthday banner. We even made a mini birthday cake of sorts--complete with candles. And we found a cute little gift that is perfect for Grandpa. Grandpa is a handyman. He spends his days fixing things. We happened upon a key chain tape measure. Get this--it measures exactly 70 inches! How perfect is that? We wrote him a 70 inch birthday note on the back of the tape measure with an extra fine sharpie. It turned out really cool.
To top it all off, we carefully tucked everything into a quart sized paint can from Home Depot. And we mailed it off. Is there anything better than getting fun mail from the postal carrier?
Happy birthday Grandpa! We hope that you have a super fantastic 25,568th day of life!
Friday, December 14, 2012
Santa Sucker Favors
This has got to be one of the cutest things I've seen in a long time!
And all of the credit goes to my amazing sister-in-law who happens to share my name. Three cheers for Julie!!! I'm hoping to convince her to share her awesomeness with us on a regular basis!
I love this craft/favor for many reasons. It's simple. It requires very little ink to print and only a pair of scissors to execute. Little hands could make this happen. It totally and completely makes me smile!
1. Print out the free printable here. You will want to print it on a piece of white cardstock.
2. Cut out the Santa moustache/beard combo.
3. Punch or poke a hole just below the moustache.
4. Add a sucker. (dumdum, tootsie, or something more gourmet)
5. Grab a camera...because you are going to want to snap some pictures of your cute little Santas!
This would be the perfect craft/favor for a classroom party. Or to bust the boredom when the kids get out of school for Christmas vacation. My kids want to give them to all of their friends for Christmas! And why not??
I'm linking up with:
Saturday, December 8, 2012
Christmas Peg Dolls
Yesterday was a really good day. Yesterday I got to pull out my paint and my brushes and get to work. I had a Christmas request from a sweet little niece for some peg dolls like these. I had so much fun making a new set of little friends for her to play with.
I was sitting at the kitchen counter, surrounded by Christmas decorations and Christmas treats and listening to Christmas music. I just couldn't help myself. I simply had to do it.
Let me introduce you to a couple of folks...
Santa can't make all of those toys by himself. He simply had to have some helpers.
Oh man. I love this time of year!
I was sitting at the kitchen counter, surrounded by Christmas decorations and Christmas treats and listening to Christmas music. I just couldn't help myself. I simply had to do it.
Let me introduce you to a couple of folks...
Oh man. I love this time of year!
I'm linking up with:
Thursday, December 6, 2012
Christmas Treat Boxes
Back by popular demand....treat boxes! Christmas style!
These are perfect for giving to friends and teachers. Anyone really. Follow these easy steps to make your own:
1. Download and print the file.
2. Follow the general assembly instructions from this post. You will need some double sided sticky tape. I liked to orient my Santa so the point of the triangle is at the top of his hat. As for Rudolph, you will want the point of the triangle at his chin. The snowmen can be oriented either way.
3. If you wanted to get all fancy-pants you can embellish your containers a bit. You could put a small white pompom on Santa's hat or a red pompom for Rudolph's nose. Put a bow around Rudolph's neck. You get the idea. Have some fun!
3. Fill your little container of cuteness with some Christmas candy. I chose to use m&m candies of all varieties. But the sky's the limit here people! Well, as long as your candies are smallish.
4. Seal your containers and give them to all of your friends and loved ones this Christmas!
Enjoy! And have a very merry Christmas.
These are perfect for giving to friends and teachers. Anyone really. Follow these easy steps to make your own:
1. Download and print the file.
2. Follow the general assembly instructions from this post. You will need some double sided sticky tape. I liked to orient my Santa so the point of the triangle is at the top of his hat. As for Rudolph, you will want the point of the triangle at his chin. The snowmen can be oriented either way.
3. If you wanted to get all fancy-pants you can embellish your containers a bit. You could put a small white pompom on Santa's hat or a red pompom for Rudolph's nose. Put a bow around Rudolph's neck. You get the idea. Have some fun!
3. Fill your little container of cuteness with some Christmas candy. I chose to use m&m candies of all varieties. But the sky's the limit here people! Well, as long as your candies are smallish.
4. Seal your containers and give them to all of your friends and loved ones this Christmas!
Enjoy! And have a very merry Christmas.
Subscribe to:
Posts (Atom)